Monday, 23 March 2020

Even more sowing...

As March starts creeping away from us, I'm out in the garden even more, sowing as many seeds as I possibly can. Sadly, we're troubled with Covid 19 and the schools are currently closed to help prevent the spread of the virus, so I've enrolled the help of my two children, giving them lessons in plant biology at the same time!

So, today we've started with peas. My kids will pick these and eat them fresh so we're sowing plenty of these to get growing. There's seven varieties that I have and these are:

Avola
Onward
Rondo
Meteor
Hurst Green Shaft
Kleine Rheinlanderin
Kelvedon Wonder

This will be a good test to see which varieties will grow well and which will produce the most peas. It'll be good to compare the claims on the packet to the actual plants.

I always grow peas in toilet rolls, which I collect all year round (much to the annoyance of my husband), as I was told many years ago that peas don't like to have their roots disturbed. Having been told this I have always grown peas in cardboard as I can simply put them out in the soil complete with their pots.
Another way of growing under glass to start your peas off, as a fellow gardener uses, is to sow the seeds in guttering. My friend does this so she can simply push the peas out into prepared trenches, thus not really disturbing the roots too much.
The final way (and probably the easiest), is to sow the seeds directly into the soil where you want to grow them. To do this, you will need to protect your seedlings from birds (especially pigeons). I've done this too and for basic protection I have used netting, until the plants were around 20cm tall. Peas have grown successfully for me this way, but it took more effort with weeding!
Peas will need support once you've got them in place as they are climbers. They're not fussy, so you can use a variety of materials for this. I have used hazel and other wood, bamboo canes and string. As long as whatever you choose to use has the strength to support your peas and is a good height (50cm-80cm is usually what I aim for). Last year I used two stakes and some chicken wire, which was good enough.

From compost filled toilet rolls to tasty peas. 

I also got my children to prepare one of the raised beds in the polytunnel to sow some salad crop. The raised bed was already weeded and there's no need to dig the soil there as it's already in great condition. My son topped the bed with fresh compost to give it some much needed nutrients, raking it on the surface. Next, my daughter used a small hoe to mark out four trenches. The two of them then added seeds. These were radishes, kale, leaf beet and Swiss chard. Both watered (without any arguments) before leaving me to finish off some more sowing.

This year I've opted for growing onions from seed, which is what I used to do when I first moved in with Steve and took to working the garden. I've gone for classic choices in red and white onions: Red Baron and Bedfordshire Champion. I'll be aiming to grow Japanese onions later in the year (sowing usually happens in July/August time), to grow onions in succession.


Onion seeds are small, black and therefore difficult to see once in the soil. I sowed mine in two small trays.


When preparing pots and trays, take care to look for hidden pests. I had a great number of snails and slugs tucked away in various places. None were killed - just carefully placed as far away as possible!


I also took the time to sow kohl rabi, broccoli, cape gooseberry and sweet peppers. All are being kept in the polytunnel until I take out my pots (with tender plants) from the green house and create some space there.

I'm really happy with my tomatoes - several varieties are germinating! I did put these seeds in heated propagators, which are still on. It is still early in the year and last night we did have a frost, so I'm taking my time with plants that prefer warmth. No aubergines or courgettes yet though so watch this space!


Hello babies! I'm really looking forward to these growing on.


A closer look at a tomato seedling.


The broad beans are flowering so I couldn't miss an opportunity to photograph these lovelies. Vegetable flowers can be just as beautiful as cut flowers to me. 


Finally, I'll be trying to work in the garden a little bit every day now, to really get things going. There's still an awful lot to do but while I'm at home, I do have the time to give the garden a bit more of my attention.


Tuesday, 17 March 2020

March sowing

This weekend I promised I'd start to sow Mediterranean veg so I sorted through my seed catalogue and selected three things: tomatoes, courgettes and aubergines. Despite the fact that it's warming up and forecasts suggest 16 degrees next week, I'm going to use my heated propagators for all three to help the seeds germinate.


That's a lot of seeds! 

Tomatoes:

The whole family love tomatoes. My children prefer simply picking them off the plants and eating them fresh and in salads. My husband and I enjoy them fresh too but we also use them a lot in cooking. In the past I've made passata, which I stored in jars over winter to add to sauces and dishes.

 I've got quite a few varieties sown so here's a list:

For passata - 
  • Marmande
  • Cour de bue
  • Roma
  • Red pear
For salads and cooking - 
  • Moneymaker
  • Harbinger
  • Red cherry
  • Gardener's delight
  • San Marzano red plum
  • Yellow perfection
  • Ildi
  • Gartenperle
For interesting colours and flavours - 
  • Noir russe
  • Black opal
  • Noir de crimee

I've sown five of each variety and am hoping for good germination. Once these start growing on, I'll move them to various places in the garden but will try to keep most indoors - greenhouse and polytunnel (depending on room). 


Tomatoes always seem to taste better when freshly picked! 


Tomato seeds were lightly covered with some compost and then watered.


The heated propagators are covered to prevent heat loss and stop the compost getting dry too quickly.


Courgettes:

Rarely wasted in my garden, courgettes are quite versatile. I've sown one variety only - Black Beauty, but I'm hoping that three plants will provide plenty of food for the four of us and other family members. Courgettes are not something that I store over winter so it's truly a seasonal veg for me. I like to add it in soups whereas my mother has a very simple dish of sliced courgette cooked in passata to add to a main meal. 

Courgettes tend to dislike windy areas, which is why they've always preferred my garden to the allotment, which was too exposed. I'll be looking at where a good site will be for them as I plan the veg garden in the next few weeks. 

I've sown three seeds, into potting compost (peat free), and placed these in a heated propagator too. 

Aubergines:

Two varieties will feature this year, provided they will grow well. I've managed to grow good plants but not always good fruit. Viserba and Long Purple, two classic purple varieties, but there are more out there to choose from. Below is a photograph of some very striking looking aubergines trialled at a local grower's:


They may look very different but these are all varieties of aubergine.


A very beautiful aubergine flower. 


I'll be focusing on potatoes and mushrooms next time. The garden will still have plenty of room for more fruit and veg, which I will have a think about over the week. I'll also be planning what goes where once my seedlings have started to make an appearance. 

Until next time!


Saturday, 14 March 2020

Fresh start, fresh plot

Well, it's certainly been an interesting winter - mild with barely any frost my way. Aside from the weather, I've made a big decision that will change my garden - I'm giving up my allotment plot. I'll still keep on writing though because now I'll be growing more in my own back garden.

Now that the kids would rather go out than play in the garden (they're old enough to go out the local park and shops etc), I have more garden to play with myself! I've decided to reclaim what was the grow your own patch and add more edibles in pots, leaving plenty of room for flowering plants and shrubs for wildlife. Sadly, due to the recent storms I lost one of my eucalyptus trees but I'm keeping the wood as it's hard and I have a few ideas.

So, to get to the serious gardening stuff: I started early with some seeds to see how well they would do. The plants selected were broad beans, garlic, spring onions and chillies. In short the spring onions didn't do too great so I'm sowing more again soon. Here's the rest:

Broad beans

I used a few varieties, including the Sutton and Aquadulce Claudia, which have done quite well. Back in November about 50 seeds were sown and now after some not germinating and a bout of fungal disease, there's about 30 plants, which is more than enough for a small family. Beans are a firm favourite with my children so there'll be more to come in the shape of runners and French come April time.

Why sow so early? Broad beans are hardy plants and seeds can germinate at low temperatures so you don't need to use heated propagators or bring seed trays into the warmth. In my case I left them in the polytunnel and they did well apart from fungus getting to some of them. To prevent all my plants from dying I simply threw away the infected ones (burning helps kill fungus), being careful not to add them to my compost heap (well, you don't want to spread disease, do you).

The surviving seedlings were transplanted to larger pots (0.5ltr size) to grow on in January and now in early March I've put them outside in prepared beds. Careful not to dig too much as I don't want to disturb the wildlife in the soil, I added home produced compost to the beds as feed for the beans. Once this has been done there's little needing to be done. Broad beans don't need much more care really, which is great for those of us who like the idea of growing our own but don't want to spend too much time or don't have much knowledge of horticulture. Sit back and enjoy picking them when the time comes!


Healthy looking roots of the broad bean.


 One that didn't make it.


The forest of beans in my polytunnel was starting to take over and the plants were getting to close to each other. Now they're spaced out in the fresh air.


 Garlic

I don't know a lot of people that grow garlic and to be honest I've not always done very well in growing it, but this year I changed my method. I took to growing it in pots. Two pots were prepared and nine are growing quite well. Like other members of the allium family, garlic doesn't like invading weeds so growing in pots is easier to control, provided you give them sufficient space. Garlic for growing can be purchased in the early winter months and the coldness can wake them up, which means another job out of the way before March, but remember to keep the weeds out! Finally, on garlic, here's a strange tip: my mother would put two or three cloves of garlic in water and let that sit for a couple of weeks. She would then dilute that garlic water in a watering can and use it to hydrate her roses. I don't know if it was just a coincidence but the roses watered with this would have a stronger scent than those that didn't! Maybe I'll give this a try this year and let you know.


Garlic growing wonderfully in pots! Not a weed in sight so these guys should be comfortable.


Chillies

Not usually the type of veg you'd think of starting as early as November but I took two varieties to the test: Apache and Jalapeno. Apache is a variety that can be sown in November, Jalapeno didn't do too well - out of 6 seeds sown only two germinated, whereas 5 Apache are growing nicely. Typically, most seeds need daylight and warmer soil to kick start germination. Extra light wasn't given to my seeds but they were left on a window sill inside the house, above a radiator. Repotting has only just been done (using 0.5ltr pots again) to give their roots more room and more nutrition. I've also given them support with 30cm sticks. Not daring to leave them in the greenhouse just yet, they are back in the house on the same window sill for now. I'll move them outside once the weather warms up and repot them once more into larger pots.


New beginnings - I was skeptical at first sowing in November!


0.5ltr pots with peat free compost.


Now transplanted into those pots to grow on. I'll be moving them to bigger pots again in a month or so, depending on their growth.


Some gentle support by means of loosely tied string to aid the plants.


And finally...

...I'm also adding horseradish to my herb patch. I purchased a packet of two thongs by Taylors, which cost £2.99. I don't think that's a bad price, especially as when looked after, the horseradish should carry on growing for years as it is a perennial plant, so I shouldn't have to buy any more. Carefully digging the ground and freeing it of weeds, I planted the thongs with 5cm of soil above their tips. I'm hoping to see some growth in about three-four weeks.


This caught my eye at a local garden centre and as my husband loves horseradish, why not?


You can see here that the thongs do show some life. Alternatively, if you know someone who grows this they can always dig some up for you to plant in your garden instead of buying any but beware of pests and diseases in this case.


It's seemed relatively easy work so far this year but I know that there's hard work around the corner. Next week I'm hoping to sow some Mediterranean fruit and veg (think aubergines, tomatoes) and work on my plants and shrubs. Don't let the weather put you off - we sometimes allow ourselves to be trapped indoors over winter but now the days are getting longer and warmer so get on out there!

Till next time x

Thursday, 25 April 2019

Progression in the polytunnel

Well, it's getting closer to May and the weather has been warming up. It's certainly not really been a rainy April. I remember this time a few years ago being so wet and my polytunnel shelves groaning under the weight of countless seedlings waiting to go out!

At the moment,, I've carried on planting inside the polytunnel in the raised beds. Right now I have tomatoes, radishes, lettuce, garlic and parsnips all doing well.

Tomatoes:
My tomato plants are growing nicely, with about 50% now in the raised beds. I'll put about 30% more in this coming weekend and then the remainder (I'll not have room for all of them in the raised beds) will go in the greenhouse and mini greenhouse. Height wise, they are about 30cm tall but I've only tied the ones planted in the beds temporarily to sticks. I'll be attaching them to string (and I'll show you why I like this method when I do it) later.

Lettuce:
I've two varieties growing: Lollo rossa and Little Gem, both of which could really be picked now. I've not had a need for salad leaves at the dinner table just yet but it's good to know that there's something I can pick.

Pak Choi:
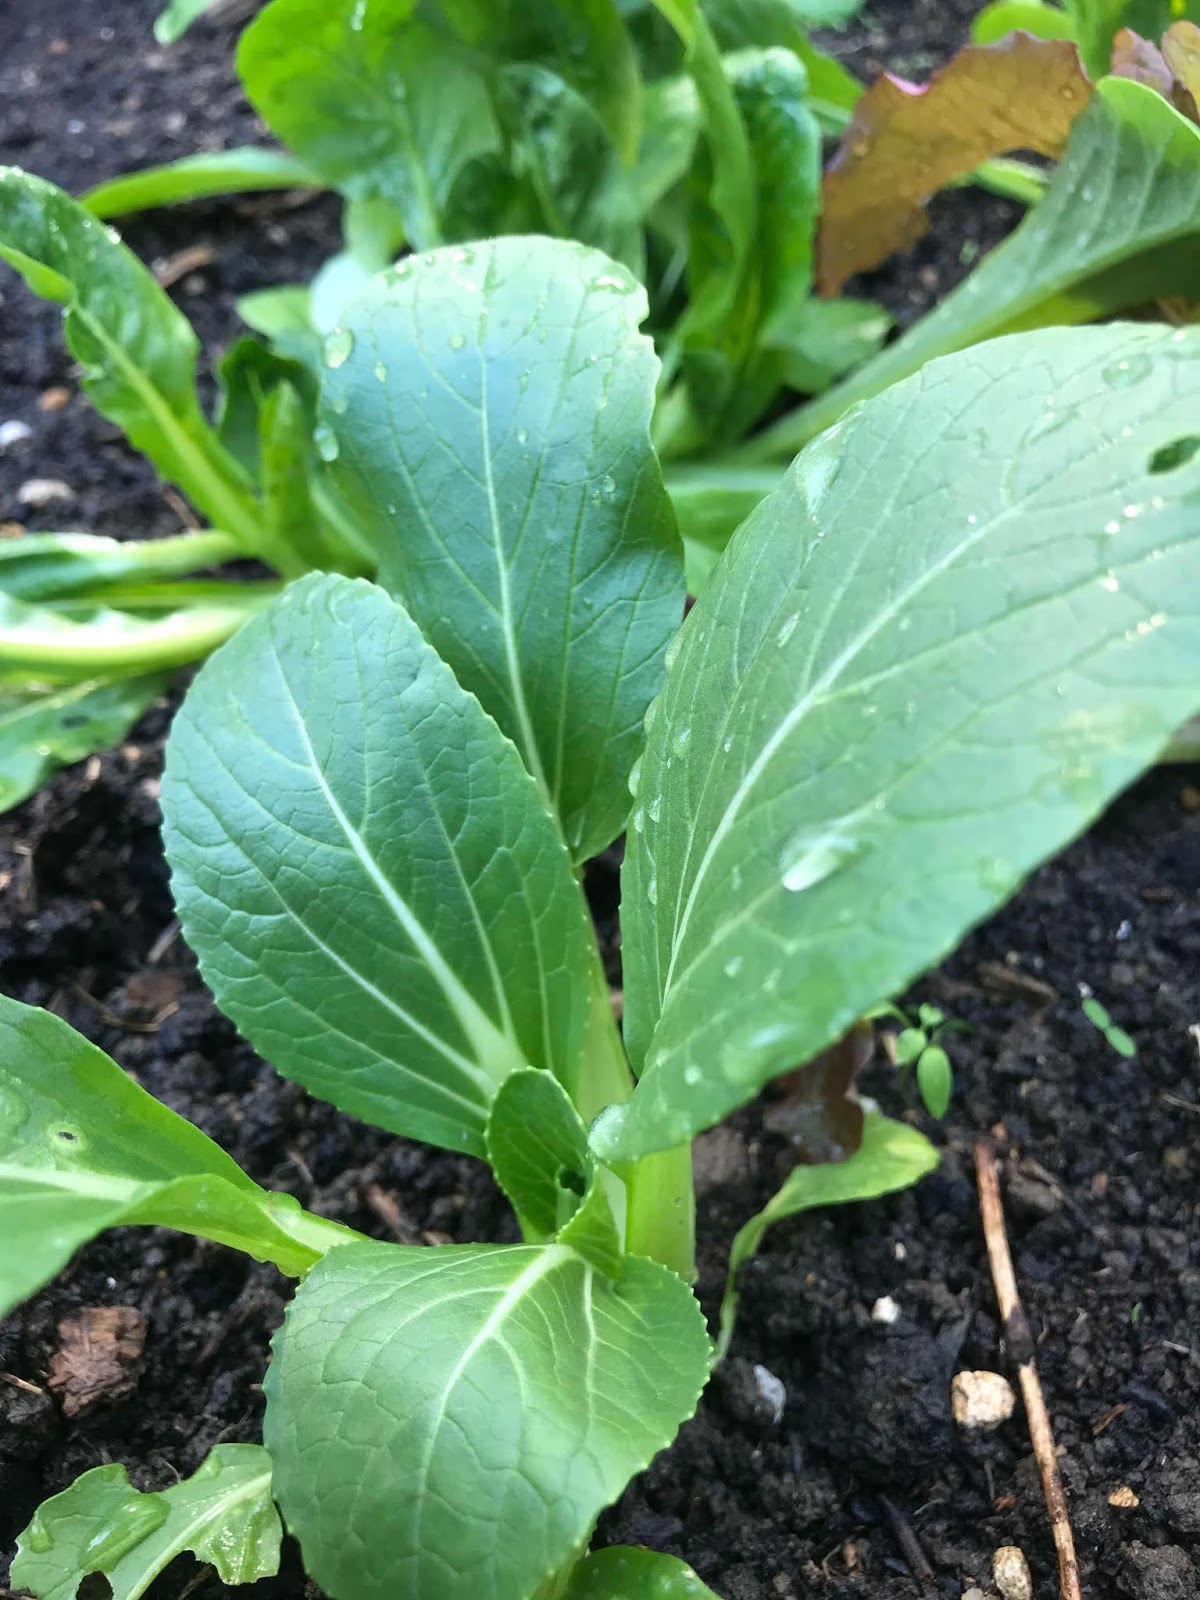
This is something that I also enjoy growing. It's easy to look after and I love it in a stir fry. I'll be sowing more seeds at the weekend to produce this in succession to carry on enjoying this leaf.

 Lollo rossa looking very good here.
 Pak choi growing on, some will still be in pots and I'll be sowing more seeds very soon.
 The tomatoes in their final growing place after being moved from their pots. I will keep some in bigger pots as well as growing in raised beds.
I've also gone ahead and removed some plants from the polytunnel, transferring them to the garden. I must admit that I haven't really hardened off any plants as the weather has been warm but if anything happens due to a cold snap then that's my own fault!
Why harden off?

Hardening off plants prepares them better for the outdoors if they have been grown indoors/under glass. It's not just the potential of damage from cold but also from wind and sun exposure (yes, plants can also get burnt in the sun just as we would do if left out all day). Gradual introduction to the great outdoors is often overlooked when it comes to growing (and I'm no exception).

Broad beans:
So, some of my varieties are being grown outside the old chicken shed (as I no longer have poultry). The soil should contain lots of nutrients from having poultry live there before and nothing else has grown there since. I don't really think that the soil should be damaging in any way to crops and plants (fresh manure can be too "hot" for plants, burning their roots etc but this area doesn't contain any fresh manure anymore). I've put out two varieties and am saving the other two for the allotment. Aquadulce Claudia and The Sutton are out in the garden and so far looking quite healthy.

 The roots of my broad beans getting quite busy in their pots!
 Healthy looking bean plants with no aphids or signs of chocolate spot.
Globe artichokes:
I quite like these both as flowering plants and as edibles. I think they look striking in a garden setting, reaching tall heights with unusual looking flowers. I like pickled artichokes but I'm the only one in the family that does! I've grown all mine from seeds I purchased last year. They are ready to go out as they are outgrowing their pots so I've planted them in a permanent area close to a fence by the old chicken shed. With growing this many I can keep some to flower in the garden and some to eat. Best of both!


 Globe artichokes raised from seed this year.
 Now in the ground, the globe artichokes will remain in this plot for a few years.
Blueberries:
Last year I also potted blueberries that I purchased as very young plants. They didn't produce any fruit last year but they are thriving this year. The reason behind growing them in pots is because they prefer a more acidic soil and I would like to be able to move them around in case they get attacked by pests or I simply want to have them in another location in the garden!
Also in this area, but in pots, are blueberries that I bought last year. They are already flowering.


All in all things are going well although I still feel that they are progressing too slowly this year, due to my work commitments. Hopefully I can find the time to do a lot more very soon!
Till next time x


Tuesday, 9 April 2019

The story so far

So, I've been trying to work as best as I can with the little time I've been given for now (work and other commitments).

It's now April and there's much to be done. I've made a start on my allotment, preparing the ground for the onions first as I'll need to transplant them soon. I've done this by manually digging instead of using my rotavator. The ground was quite good to work in that the soil wasn't too hard to dig. It was rich in life with plenty of worms, grubs, spiders and other marvellous creatures! It's always good to see and it is a good sign. Soil without any insect life shows that there's something wrong. Remember: not all insects are going to be out to get your plants. They can be pest predators, soils improvers and help to break down old plant fibres. As for the onions: well, my seeds have germinated but they are tiny in comparison to the sets I'm growing and although I'm experienced in growing both ways, having both methods grown in the same year has definitely made me think much more about it!


Seeds vs sets: The top photo is of my onion seedlings and below it the sets. Both put in at the same time. It seems like more patience will be required for the seedlings at this stage. 

As the weather continues to improve, I can't help but feel that I'm falling behind as I've given myself rather a lot to do. Not only do I have what is hundreds of seeds to sow, I have to prep the ground at my allotment and work on my front garden. It can seem very overwhelming and at a glance you may be thinking 'what's the point?' and 'is it really worth it?', while also thinking that maybe gardening is stressful and unforgiving. Having spent Mothers' Day sowing seeds and transferring plants into bigger pots and tidying up, the stress did go away. It has been upsetting as Mrs C, my last chicken had passed away recently. She's now at rest and probably with her old flock somewhere though. I will miss having chickens as I've kept poultry for 15 years, so watch this space as I may be tempted to get more after a break.

The dear, late Mrs C, my last hen. I photographed her here only just back in March.
 
The tomatoes are now growing very well. I did lose a few to damping off but I suppose that was due to lack of care as I perhaps had too much water in my heated propagators. The tomatoes on my windowsill planters did better and now I'm potting them on to encourage growth. There's two varieties that didn't come to much: Red Pear, which didn't germinate and White Wonder, where only one germinated and is quite slow to grow. Marmande is by far developing better than any of the other varieties.
 Transplanting tomatoes to larger pots is an easy task.
The one other plant I got on working with was the strawberry. I bought several online this year at a good price (about £15 for 25 plants). They arrive by post wrapped up in plastic to prevent drying up and I didn't hesitate getting stuck in to give them the best chance of survival. The variety I got was Late Florence. Last year I bought Cambridge Favourite, which produces some good sized fruit.
 Is it just garden rubbish or some potential tasty strawberries in this bag?
 There was some sign of life in this plant. 


Some of the strawberry plants looked almost dead when I removed the packaging but you needn't be so worried. Strawberries have a habit of looking their worst when they are dormant and I'm hoping that after some tender loving care they will provide me with good sweet fruit in the following months! I placed them in 9cm pots with an organic, peat free compost and am keeping them in the polytunnel for now. The Cambridge Favourite that overwintered in the poly has now been moved outdoors into a strawberry pot in a sheltered spot. I'll keep you posted on everything I've done so far.

Stress over, till next time!

Sunday, 17 March 2019

Designing a new front garden

When I first moved to my current house, the neither the front garden nor the back garden were anything nice to look at or inspiring at all. I've worked on the back and there's been many changes and although it's not looking it's best, I'm hoping that I've got it right this summer. The front is just awful to be honest with you. There's a concrete drive (why oh why did the previous owner do that, I can't afford to put a new one in), an old low, wooden fence that hasn't really survived the last few days of storms but there are some lovely plants: escallonia (that I put in), roses, a weigela, crocosmia and some more roses growing against the house.

Now, I'm not one for removing plants that have nothing wrong with them so I'm keeping all the plants where they are and I'll be working around them. I'm no garden designer and despite going to a local horticultural meeting recently about designing a small garden I'm non the wiser really. I've taken some inspiration from the internet, creating a mood board with various ideas and here's what Im looking to do:

Remove the old wooden fencing
Clear up the old patch of grass
Add two ornaments and fill with flowers
Add hedging where I can

The main inspiration I got was from striking pictures from the Dubai Miracle Garden's floral clock. It was the peacock with flowers as its tail that made me want something similar but on a much smaller scale of course!

So, I sourced a peacock planter from Dunelm, priced at £18, which I thought was quite reasonable as some ornamental peacocks were priced much higher. In this case I'm not looking for something high quality, just a good start.

I'm looking to keep flowers to a similar colour to the peacock so I've chosen to plant the following in the planter:

Petunia Fanfare Dark Blue
Lobelia Waterfall Blue
Fuchsia Southern Belle Voodoo
Verbena Enchantment Purple


Hopefully you can see the colour of the flowers on the varieties I've picked here. 

My daughter asked if she could help so I got her to fill a clean pot with potting compost and then add the plants in, placing the lobelia on one side, which will be near the neck of the peacock, the fuchsia on the sides to trail over the wings, with the petunia and verbena at the back to trail over the tail. 

I was pleased to see that the plugs didn't have too much plastic by means of a small pot. Although there was still a lot of plastic in use buying this. 

Carefully packing the young plants in the pot.

I've kept the planter in the poly tunnel as it's still too cold for the plants to be outside. Some of them are not hardy so I don't want to lose any.  Just to be doubly sure that I won't see them succumb to frost I've placed protection over the planter until the danger of frost is over. 


Next I'll be working on the front to clear any rubbish and give the roses a clip. After that I'll plan to dig and level the patch of land. I want to add some more dramatic planting as the flower varieties I'm using for the tail will be low plants. I'm hoping that the peacock will stand in a place that looks like a small jungle! 

Until next time x

Bulbs

Just as February is coming to an end, I'm now sowing onion seeds, along with sets to see what comes out best at harvest time.

Originally I always grew my onions (white and red) from seed, however, for ease I started growing onions from sets a few years ago, thus abandoning my seed sowing. So, I can't really compare which is the better method unless I grow onions by both methods at the same time. Aside from onions, I'm also growing shallots and garlic from sets and leeks (a member of the onion family) from seed.

Onions from seed

Back when I first moved into my current house I decided to grow onions, red and white, from seed. I originally purchased Bedfordshire Champion and Red Baron. The seeds were quick to germinate and I transplanted them from seeds trays to prepared beds in my back garden as I didn't have an allotment then. I found them surprisingly easy to grow and enjoyed harvesting them so much that the following year I also purchased Japanese onion seeds to grow in the summer months as I could harvest these a little earlier the following year to give me a succession of onions. Then, when I got my first allotment plot I gave up with seeds and grew from sets. The reason why I did this was because I thought that it would be easier to grow from sets.

Now I'm back to trying with seeds again. I've sown seeds in trays as before and left enough space between each seed, which is around 2cm. Later on, when these have germinated and grown on a little I will transplant them, leaving more of a gap. As of now nothing has germinated so I can't show you any photos of onion seedlings but will keep you updated when that does happen.

Onions from sets

This year I bought the following sets from Wilko:

White onions - Sturon
Red onions - sadly, there wasn't a variety name supplied

Both were priced at £1.50 each and as the deal is buy 3 for 2 I also bought shallots and garlic.

As I haven't yet prepared the soil on my allotment I decided to place the sets in individual small pots to get as many growing on as I can. I don't know if this could cause me problems though as I'm not sure whether moving them again will cause issues with growth (some plants really dislike being moved).

For the pots I just used potting compost for now. As they start to grow I'll transplant them to the allotment, so I'll need to prepare the soil! Onions like a good fertile soil to grow.

Pros and Cons of both

I've always found that when I've grown from seed onions tend not to really bolt (produce a flower and go to seed), whereas onions grown from sets can do. In the past I've cut off any flower stems growing on onions but I've not found the onion particularly good even after doing that.

If you're wanting to find an easy and quick way of growing onions then the best way probably is with sets as you can simply prepare your soil beds and put them in. Keep an eye on them though as birds quite like to pull them out (only to look underneath).

Either way, as I'm fond of using onions in cooking whatever I do get as a crop I'll be happy with!